Microsoft Outlook Change POP3 to IMAP

POP3 Account:- POP 3 is Stands for POST Office Protocol 3 which is used to convert POP3 account to IMAP. It is the standard way which has been around for periods. It is completely similar to regular mail. Messages are delivered to your computer, put in your mailbox and after that it is your responsibility.
IMAP Account:- IMAP stands for Interactive Mail Access Protocol. It provides a simple and better way to access emails on multiple devices because with IMAP mail is delivered to the server, and you connect to the server to see your mail. The mail is not stored on your machine. When a message is marked as read, it is marked as read on the server, not on your computer. To Convert POP3 account to IMAP account in outlook you have need to complete two short processes:
- Remove account from POP3
- ADD your Account in IMAP
Remove Current Account from POP3 in Outlook
Convert POP3 account to IMAP with the help of a few easy clicks you will easily remove the current account from POP3.
Steps For Outlook 2007
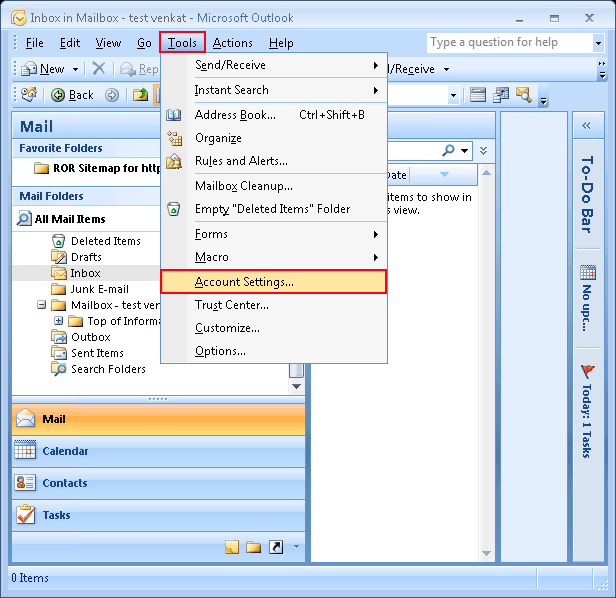
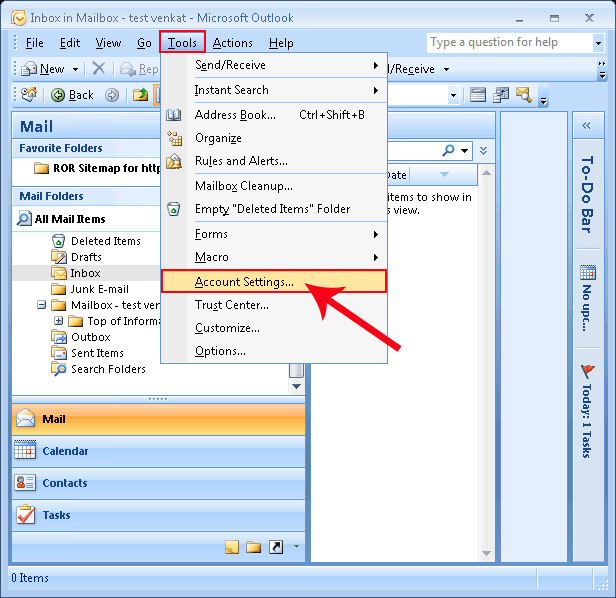
Step 1. Click on “Tools” Tab and click on “Account Settings“.
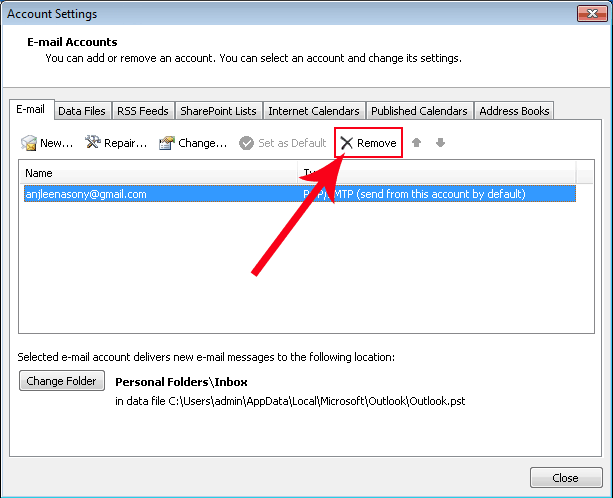
Step 2. After Clicking the Account Settings, open this screen and select your POP3 account and after that click on the “Remove” button to Remove POP3 account.
Steps For Outlook 2010 and 2013
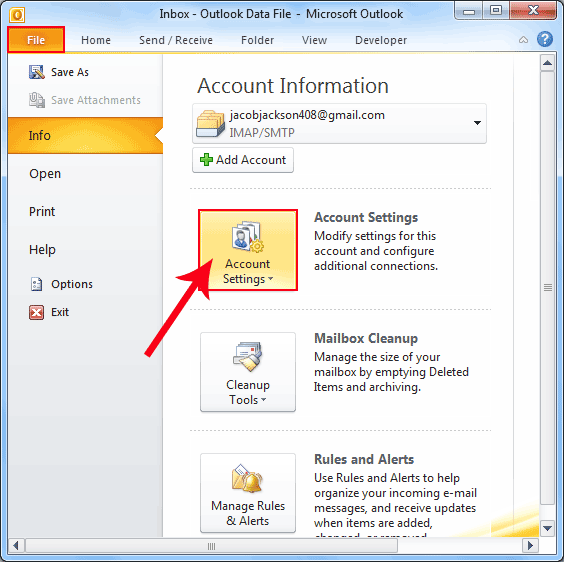
Step 1. Click on “File Tab” and after that Click on “Account Settings“.
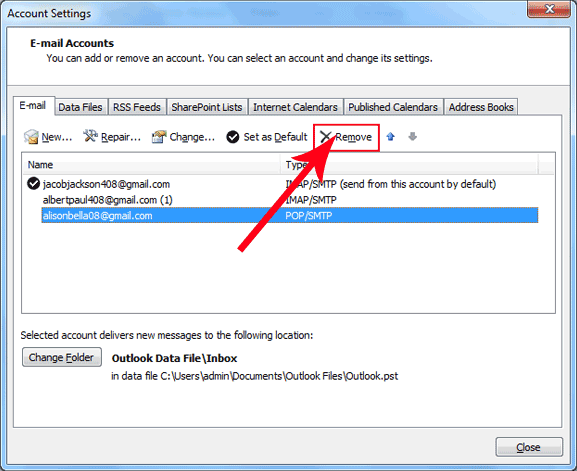
Step 2. Select your “POP3 account” and Click on the “Remove” button to remove the POP3 account.
Now Second Step is ADD Your Account in IMAP
The Next step is How to add your account in IMAP. You will easily add your account in IMAP with a few easy clicks.
Steps for Outlook 2007:-
Step 1. Select the “Tools” tab and click on “Account Settings“.
Step 2. Now Click on “New” button to add your account IMAP.

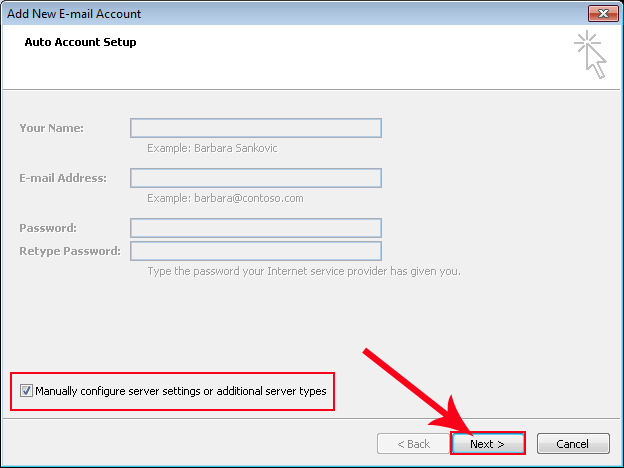
Step 3. Click on “Manually Configure Server Settings or additional server types” and after that Click on “Next” Button.
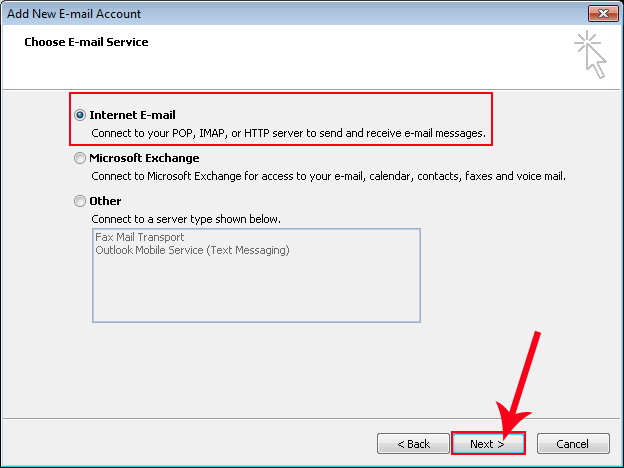
Step 4. Select the first option to add IMAP account and click on “Next” button.
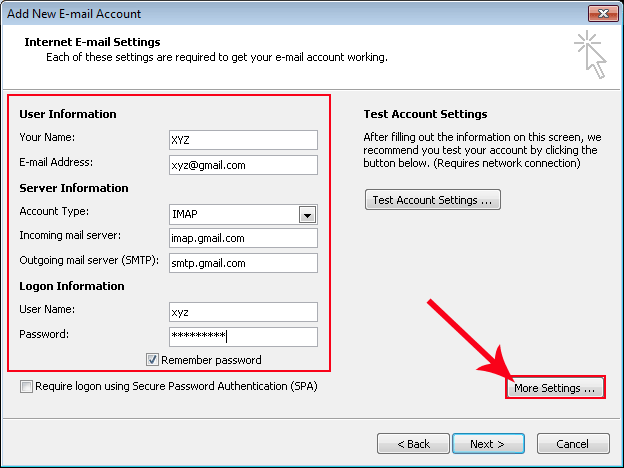
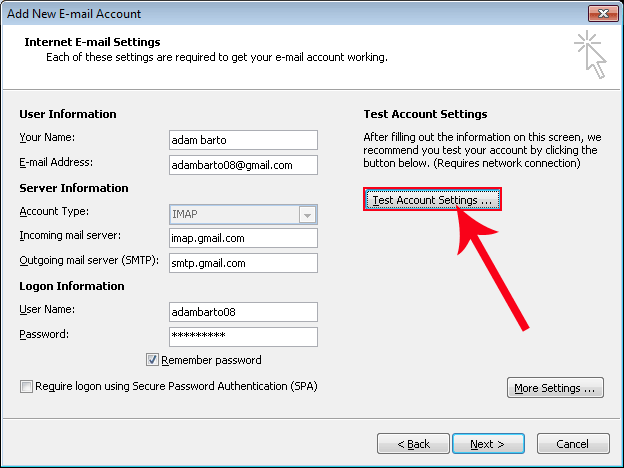
Step 5. Fill the all information like “USER Information“, “Server Information” and “Logon Information“. After that Click on “More Settings” Options.
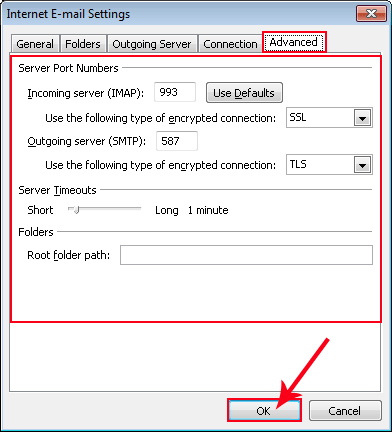
Step 6. After Clicking the more settings option select the “Advanced” Tab and here fill all server port Numbers. Now Click on “OK“.
Step 7. Now Click on “Test Account Settings” to test your account.
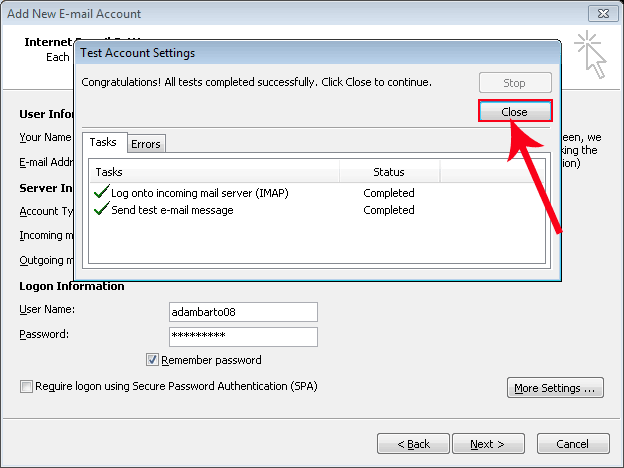
Step 8. When all tests are Completed Successfully then click the Close button to Continue the process.
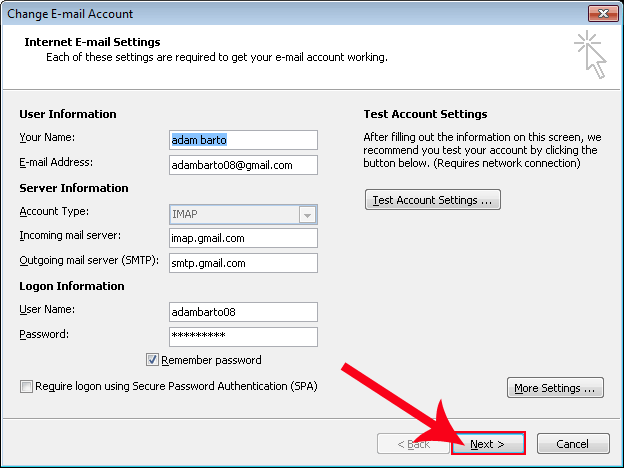
Step 9. Now Click on the “Next” button to continue the process.
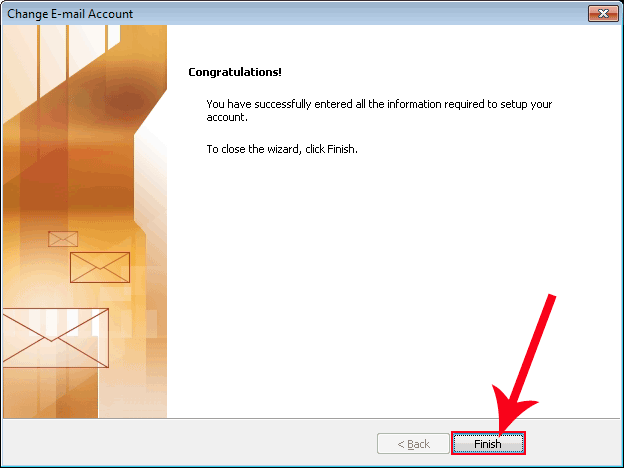
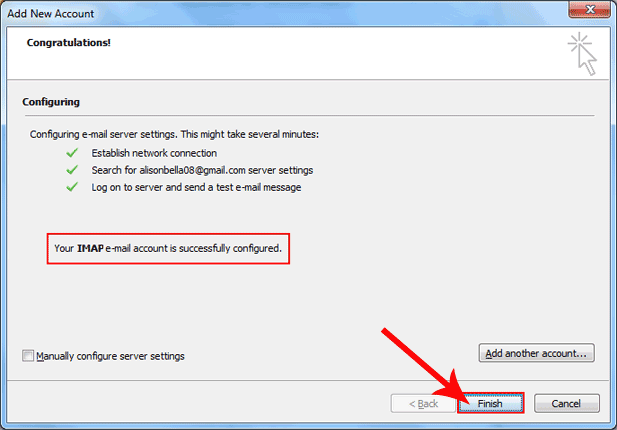
Step 10. Now Click on the “Finish” button and add your account to IMAP.
Steps for Outlook 2010 & 2013 to Add IMAP Account
Step 1. Now start the process to add your Account IMAP.

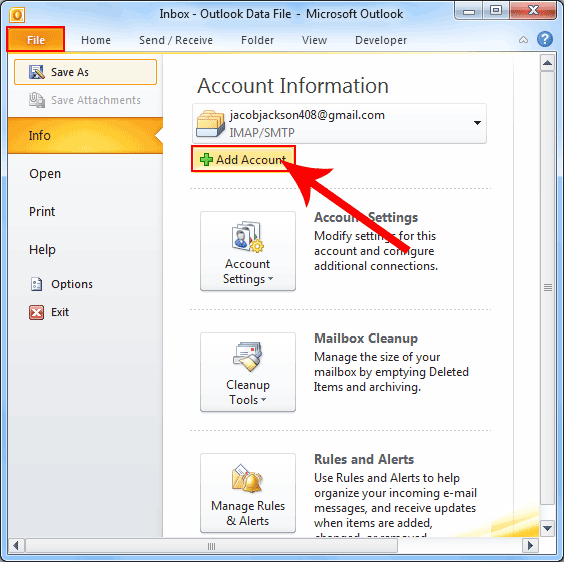
Step 2. Now Click on the “File” Tab and After that click on the “Add Account” button to add an account.
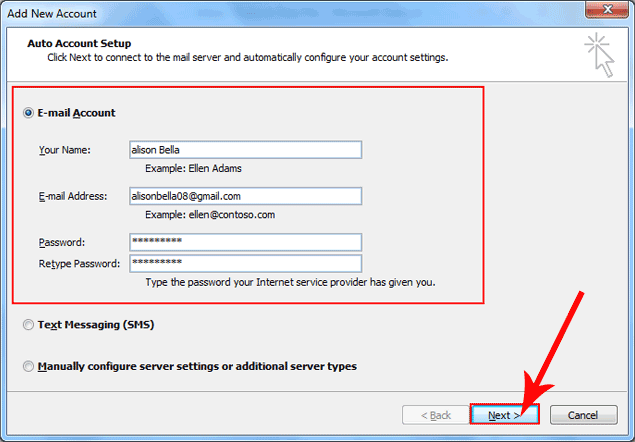
Step 3. Select the first option and fill all blank options like “Your Name“, “Email Address“, “Password” and after that click on the “OK” button.
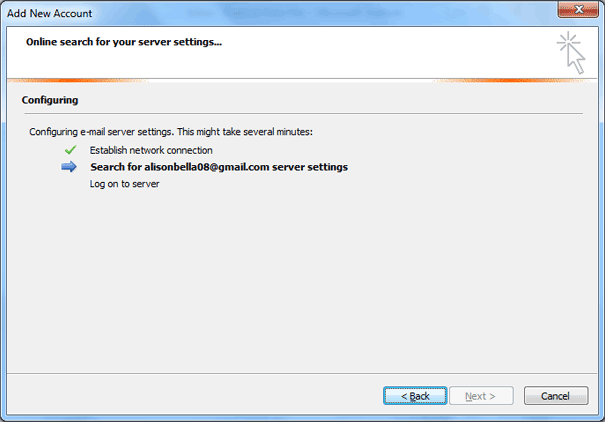
Step 4. After Click on “Next” button you will see this screen:
Step 5. When the process is complete this screen looks like as shown below here users need to click on the “Finish” button and add your IMAP account in Outlook.
Conclusion
In this blog, we have given you the steps to convert POP 3 account to IMAP account in Outlook. follow these steps one by one for having smooth experience. After you have changed account in outlook from POP3 to IMAP, you can also know how to change time format in Outlook?
